Ninja Foodi TenderCrisp Pressure Cooker OP300C Owner’s Guide
Download PDF user manual and recipe book for SharkNinja Operating / Ninja Foodi TenderCrisp 8-in-1 6.5-quart / 6L Pressure Cooker OP300 Series Model # OP300C (EN|FR|ES) 84 pages OP300Series_IB_E_F_S_REV_Mv19, OP300_QSG_REV_Mv9, OP301_QSG_REV_Mv11, OP302_QSG_REV_Mv9, OP300_IG_15Recipe_REV_Mv9 2020 zip
Description
This PDF user manual (with recipes) is for the Ninja OP300C Foodi TenderCrisp 8-in-1 6.5QT/6L Pressure Cooker.
About the Item
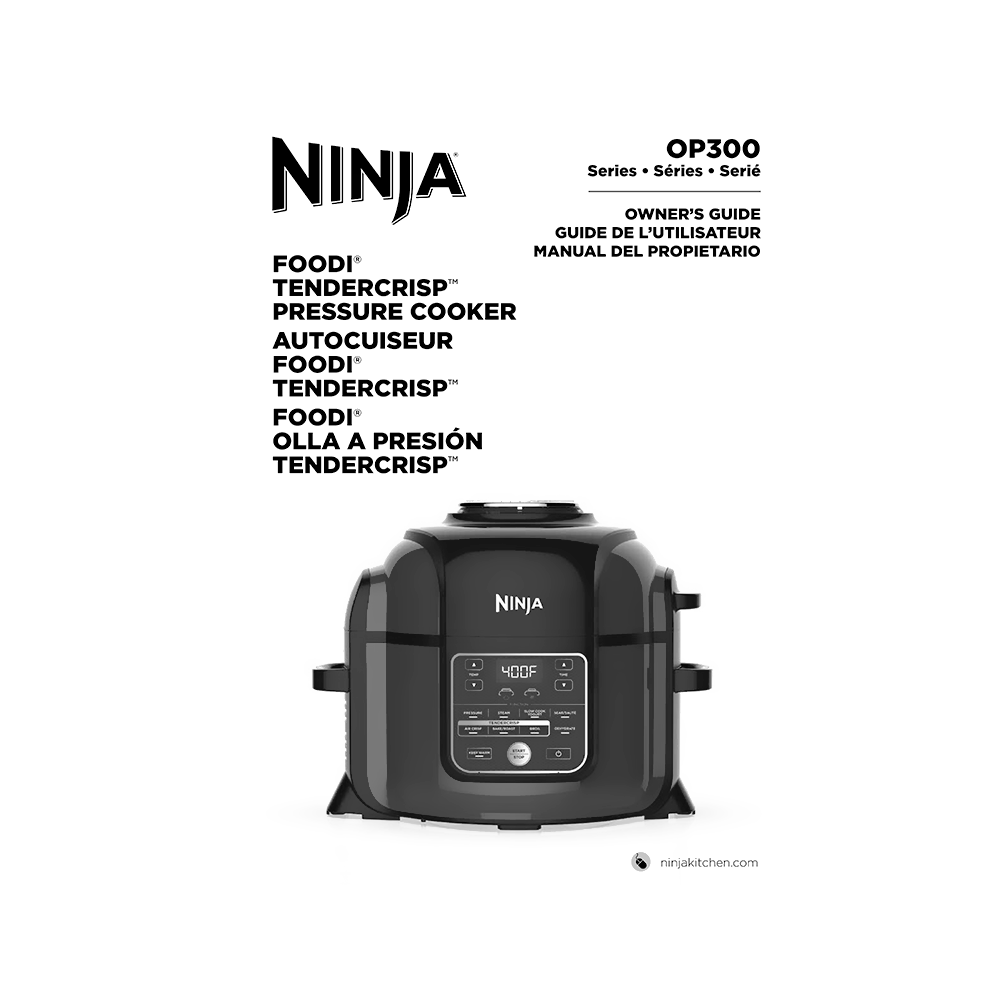
Ninja Foodi TenderCrisp 8-in-1 6.5-quart / 6L Pressure Cooker, Model: OP300C
TECHNICAL SPECIFICATIONS
Voltage: 120V~, 60Hz
Watts: 1460W
Read and review instructions to understand operation and use of product. Save these instructions.
Document(s) available
(PDF) OWNER’S GUIDE / GUIDE D’UTILISATION / GUÍA DEL USUARIO
Available languages
ENGLISH (EN) | ESPAÑOL (ES) | FRANÇAIS (FR)
SUMMARY OF CONTENTS
IMPORTANT SAFEGUARDS
PARTS and ACCESSORIES
USING THE CONTROL PANEL
– Function Buttons: Pressure, Steam, Slow Cook, Yogurt, Sear/Saute, Air Crisp, Bake/Roast, Broil, Dehydrate.
– Operating Buttons: TEMP arrows, TIME arrows, START/STOP button, KEEP WARM button, POWER button.
– Standby Mode: After 10 minutes with no interaction with the control panel, the unit will enter standby mode.
WHAT TO DO BEFORE FIRST USE
– How to install the condensation collector
– Removing & reinstalling the anti-clog cap
– How to swap the top
– Using the crisping lid
HOW TO USE NINJA FOODI TENDERCRISP PRESSURE COOKER
– How to turn on the pressure cooker
– How to: Air Crisp; Bake/Roast; Broil; Dehydrate.
In order to familiarize yourself with the Pressure Cook function and start cooking, it is highly recommended for first-time users to do an initial run.
– Ho to do an initial run.
NATURAL PRESSURE RELEASE vs. QUICK PRESSURE RELEASE
– Natural Pressure Release: When pressure cooking is complete, steam will naturally release from the unit as it cools down. This can take up to 20 minutes or more, depending on the amount of liquid and food in the pot. During this time, the unit will switch to Keep Warm mode. Press the KEEP WARM button if you would like to turn Keep Warm mode off. When natural pressure release is complete, the red float valve will drop down.
– Quick Pressure Release: Use ONLY if your recipe calls for it. When pressure cooking is complete and the KEEP WARM light is on, turn the pressure release valve to the VENT position to instantly release pressure through the valve. Even after releasing pressure naturally or using the pressure release valve, some steam will remain in the unit and will escape when the lid is opened. Lift and tilt it away from you, making sure no condensation drips into the cooker base.
– Pressurizing: As pressure builds in the unit, the control panel will display rotating lights. Pressurizing time varies, depending on the amount of ingredients and liquid in the pot. As the unit pressurizes, the lid will lock as a safety measure, and it will not unlock until pressure is released. Once the unit has reached full pressure, the lid pressure icon light will glow steadily. The pressure cooking cycle will begin and the timer will start counting down.
– How to install & removing the pressure lid
USING THE COOKING FUNCTIONS WITH THE PRESSURE LID
– How to: Pressure Cook; Steam.
– How to Slow Cook.
– How to make Yogurt.
– How to Sear/Saute.
CLEANING & MAINTENANCE
Never put the cooker base in the dishwasher, or immerse it in water or any other liquid.
– How to clean the cooker base and the control panel
– How to clean cooking pot, pressure lid, silicone ring, and Cook & Crisp Plate
– How to clean the crisping lid
– How to remove & reinstall the Silicone Ring
HELPFUL TIPS
– For consistent browning, make sure ingredients are arranged in an even layer in the Cook & CrispTM Plate or cooking pot with no overlapping. If ingredients are overlapping, make sure to shake them halfway through the set cook time.
– For smaller ingredients that could fall through the broil rack, we recommend first placing them on parchment paper or foil.
– When switching from pressure cooking to using the crisping lid, we recommend emptying the pot of any remaining liquid for best crisping results.
– Press and hold down the TIME up or down arrow to get to your desired time faster.
– Use the Keep Warm mode to keep food at a warm, food-safe temperature after cooking. To prevent food from drying out, we recommend keeping the pressure lid closed and using this function just before serving. To reheat cold food, use the Air Crisp function.
TROUBLESHOOTING GUIDE
Why is my unit taking so long to come to pressure? How long does it take to come to pressure?
– Cooking times may vary based on the selected temperature, current temperature of the cooking pot, and temperature or quantity of the ingredients.
– Check to make sure your silicone ring is fully seated and flush against the lid. If installed correctly, you should be able to tug lightly on the ring to rotate it.
– Check that the pressure lid is fully locked, and the pressure release valve is in the SEAL position when pressure cooking.
Why is the time counting down so slowly?
– You may have set hours rather than minutes. When setting time, the display will show HH:MM and the time will increase/decrease in minute increments.
How can I tell when the unit is pressurizing?
– The rotating lights will display on the screen to indicate the unit is building pressure.
Lights are rotating on the display screen when using the Pressure or Steam function.
– This indicates the unit is building pressure or preheating when using STEAM or PRESSURE. When the unit has finished building pressure, your set cook time will begin counting down.
There is a lot of steam coming from my unit when using the Steam function.
– It’s normal for steam to release through the pressure release valve during cooking. Leave the pressure release valve in the VENT position for Steam, Slow Cook, and Sear/Sauté.
Why can’t I take the pressure lid off?
– As a safety feature, the pressure lid will not unlock until the unit is completely depressurized. To release pressure, turn the pressure release valve to the VENT position to quick release the pressurized steam. A quick burst of steam will spurt out of the pressure release valve. When the steam is completely released, the unit will be ready to open. To unlock the pressure lid, turn it counterclockwise. Lift the lid at an angle to prevent splatter. Do not lift the lid straight up.
Is the pressure release valve supposed to be loose?
– Yes. The pressure release valve’s loose fit is intentional; it enables a quick and easy transition between SEAL and VENT and helps regulate pressure by releasing small amounts of steam during cooking to ensure great results. Please make sure it is turned as far as possible toward the SEAL position when pressure cooking and as far as possible toward the VENT position when quick releasing.
The unit is hissing and not reaching pressure.
– Make sure the pressure release valve is turned to the SEAL position. If you’ve done this and still hear a loud hissing noise, it may indicate your silicone seal is not fully in place. Press START/STOP to stop cooking, VENT as necessary, and remove the pressure lid. Press down on the silicone ring, ensuring it is fully inserted and lies flat under the ring rack. Once fully installed, you should be able to tug lightly on the ring to rotate it.
The unit is counting up rather than down.
– The cooking cycle is complete and the unit is in Keep Warm mode.
How long does the unit take to depressurize?
– The time it takes to release pressure depends on the quantity of food in the unit and can vary from recipe to recipe. Always ensure the float valve has dropped before trying to remove the lid. If the unit is taking longer than normal to depressurize, unplug the unit and wait until the float valve drops before removing the lid.
“POT” error message appears on display screen.
– Cooking pot is not inside the cooker base. Cooking pot is required for all functions.
“LID” error message appears on display screen and lid icon flashes.
– The incorrect lid is installed for your desired cooking function. Place the pressure lid on the unit if you want to use the Pressure, Slow Cook, Steam, Sear/Sauté, or Keep Warm functions and ensure it is in the closed position.
“SHUT” error message appears on display screen.
– The crisping lid is open and needs to be closed for the selected function to start.
“VENT” error message appears on display screen.
– When set to Slow Cook or Sear/Sauté, and the unit senses pressure building up, this message indicates the pressure release valve is in the SEAL position.
– Turn the pressure release valve to the VENT position and leave it there for the remainder of the cooking function.
– If you do not turn the pressure release valve to the VENT position within 5 minutes, the program will cancel and the unit will shut off.
“WATR” error message appears on display screen when using the Steam function.
– The water level is too low. Add more water to the unit for the function to continue.
“WATR” error message appears on display screen when using the Pressure function.
– Add more liquid to the cooking pot before restarting the pressure cook cycle.
– Make sure the pressure release valve is in the SEAL position.
– Make sure the silicone ring is installed correctly.
ERR1 | ERR2 | ERR3 | ERR4 | ERR5 | ERR8
– The unit is not functioning properly. Please contact Customer Service
NINJA FOODI TENDERCRISP PRESSURE COOKER QUICK START GUIDE
– Get to know your Foodi
– Here’s what’s in the box
– Why are there 2 lids?
– First time pressure cooking?
– Using your Foodi’s functions
– TenderCrisp 101: Herb-Roasted Chicken
– Cooking Cheat Sheet
NINJA FOODI PRESSURE COOKER: 15 MOUTHWATERING RECIPES AND CHARTS FOR UNLIMITED POSSIBILITIES
What you’re about to experience is a way of cooking that’s never been done before. TenderCrisp Technology allows you to harness the speed of pressure cooking to quickly cook ingredients, then the revolutionary crisping lid gives your meals a crispy, golden finish that other pressure cookers can only dream of.
CONTENTS:
– The Art of TenderCrisp
– TenderCrisp 101: Herb-Roasted Chicken, Sticky St. Louis Ribs, Panko-Crusted Cod with Quinoa, Baked Macaroni & Cheese, Teriyaki Chicken, Broccoli & Rice
– Choose Your Own TenderCrisp Adventure
– TenderCrisp Frozen to Crispy: Buffalo Chicken Wings, Chicken Parmesan With Penne & Broccolini, Miso-Glazed Salmon & Bok Choy
– TenderCrisp 360 Meals: Short Ribs & Root Vegetables, Grains, Greens & Tofu Bowl
– TenderCrisp One-Pot Wonders: Chicken Pot Pie, Beef Chili & Corn Bread Casserole, Pepperoni Pizza Pasta Bake
– Everyday Basics: Homemade Vanilla Yogurt, Chocolate Chip Skillet Cookie
– Cooking Charts: Pressure Cooking Chart, Steam Chart, Air Crisp Cooking Chart, TenderCrisp Chart
Why download the Manual?
This owner’s guide (with recipe book) provides all the information from NINJA about the OP300C Foodi TenderCrisp Pressure Cooker, as detailed in the table of contents. Reading it completely will address most questions you might have. You can download and save it for offline use, including viewing it on your device or printing it for your convenience if you prefer a paper version.
How to download the Manual?
Download it by clicking the button below
Helped you out?
Glad to hear that. It would be awesome if you could . . .


