SentrySafe S4549 Safe Owner’s Manual
Download PDF user manual for Master Lock / SENTRY model S4549 Safe (EN|ES|FR) 13 pages 513023 2008 zip
Description
This PDF user manual is for the SentrySafe S4549 safe.
Looking for the factory code, dial combination, or key number for this Sentry Safe?
The manual doesn’t include it – here’s why.
About the Item
SentrySafe S4549 Safe
SentrySafe is the world’s leader in fire/water-resistant and security storage.
This guide describes how to easily set up your safe.
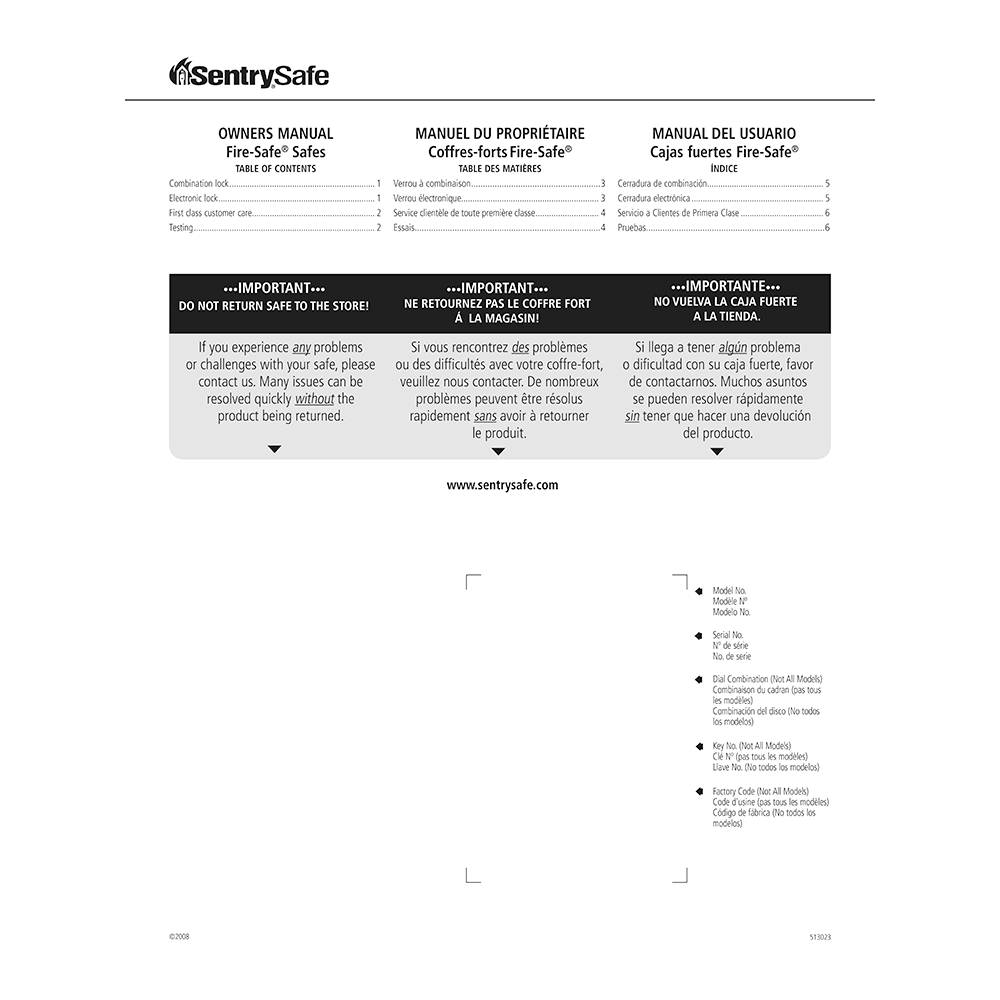
It is important that you keep the original Owner’s Manual in a secure place OTHER THAN IN your safe; it is your reference for the safe’s Serial Number and Factory Code.
Document(s) available
(PDF) OWNERS MANUAL / MANUEL DU PROPRIÉTAIRE / MANUAL DEL USUARIO
Available languages
ENGLISH (EN) | FRANÇAIS (FR) | ESPAÑOL (ES)
SUMMARY OF CONTENTS
GETTING STARTED
GAIN ENTRY WITH THE COMBINATION LOCK:
Opening your safe for the first time (keep door open during setup): The handle should be all of the way UP, in the horizontal position before attempting to dial out safe.
3-number combination (Cannot be changed): How to unlock and open your safe. How to close and lock your safe.
4-number combination: How to unlock and open your safe. How to close and lock your safe.
GAIN ENTRY WITH THE BASIC ELECTRONIC LOCK:
The handle should be all of the way UP, in thehorizontal position before attempting to open safe. Opening your safe for the first time (keep door open during setup).
How to unlock your safe. How to lock your safe.
ACCESS CODES – There are 3 possible ways to unlock and access the safe:
1. Factory code. You can always open the safe by entering the pre-set 5-digit factory code (Found on the front cover of this guide). This code cannot be deleted.
2. User code. If you prefer to employ your own code, you can program the safe to open using a 5-digit user code of your choice.
3. User pin. If you wish to give someone else temporary access to the safe, you can program a 5-digit user pin that can later be erased.
Programming the user code (One user code is allowed): How to add user code. How to delete user code.
Programming the user pin (One user pin is allowed): How to add user pin. How to delete user pin.
If your safe does not appear to be working, please check batteries.
Signals: Your electronic-lock safe communicates by means of several audio/visual signals.
Red (Error) LED + three beeps indicates one of the following:
1. You have pressed Program key out of sequence.
2. You have entered an invalid code or user pin.
3. You have let 5 seconds or more elapse between key presses.
4. Lights after three consecutive invalid codes are input (2-minute delay mode).
Green LED only:
1. Comes ON after you enter a valid code and remains lit during the 4-second period in which the safe can be opened.
2. Comes ON in the Programming mode and remains lit until you have finished entering a 5-digit code.
Yellow LED only:
1. Comes ON when the batteries need to be replaced.
GAIN ENTRY WITH THE FINGERPRINT LOCK:
Some models with a fingerprint lock are shipped with a screw in the back of the door. This temporary screw keeps the handle from turning and locking the safe before you are ready to use it. Once your safe is delivered, remove this screw and throw it away (Fig. I). After removing the lock out screw, it may be required to push the bolt button which, in turn, will throw the bolts to a locked position while the door is open.
The handle should be all the way UP, in the horizontal position before attempting to program your safe. Your finger-print lock is now ready to use. You will find your safes factory combina tion on the sticker on the front of the owner’s manual.
How to activate the lock? (Four alkaline AA batteries, equaling voltage: 6Vdc, (not included) are required to activate the fingerprint lock. Non-alkaline and rechargeable batteries ARE NOT RECOMMENDED)
How to install the batteries?
Low battery notice: When the battery power gets low, the message “Batteries Low Replace Soon” will appear with each activation of the lock until batteries are replaced. No codes are erased when old batteries are removed for replacement.
First time use: Open unit first, then test with door open! The key lock must be in the UNLOCKED position in order to operate the fingerprint lock. To unlock, turn the key to the right. Return key to the locked position when you have closed the safe door. Remove the key from the lock and store it in a secure location other than in the safe.
How to enter your personal code (4-8 digits).
How to enter fingerprint scans.
NOTE: Should you choose not to enter your fingerprint scan at the first use, it can be entered at a later date. The original Factory Code is necessary to continue at that later date.
NOTE: The fingerprint lock stores one manager and up to six (6) users. The manager and each user is encouraged to program two fingers, preferably one finger from each hand.
How to store your first fingerprint.
Tips for fingerprint programming and usage:
Best finger for programming:
– Do not choose a finger with a cut or scar.
– Do not choose a finger with excessively long fingernails.
– Choose a finger with the tightest swirl pattern.
Finger placement:
– Place your finger on the sensor in a direct manner. Do not slide or roll your finger onto the sensor.
– Do not move your finger off of the sensor until the lights around the sensor turn off.
– Any trembling or shaky movement of the finger will result in an inaccurate reading.
– Use a medium pressure on the sensor. Too firm or too light will not read correctly.
Location of finger on the sensor:
– Look to see where the swirl part of your fingerprint is on your finger.
– Place the swirl part of your fingerprint on the sensor.
– With your finger on the sensor, note the position of your fingernail in relation to the sensor crosshairs. Repeatable placement of the finger is important in programming and usage of the safe.
– Also note where you are standing in relation to the safe. Programming or usage at a different angle will not work well.
Skin condition:
– If you have dirt on your hands, please wash them before using the safe.
– Very dry skin will not program well. Use a skin moisturizer, being sure to rub the moisturizer in well and remove any excess before using the safe.
Normal use: To access the safe, first turn the key to the right to unlock. You may then either press the ENTER button and place your finger on the sensor (Fig. K), or, enter your personal code and press ENTER. LCD will prompt the next steps.
For optimal accuracy and fingerprint-reading success, clean the fingerprint sensor periodically with a lint-free cloth.
How to enroll a new user. How to delete an existing user.
Backup: The system memory can be returned to its original status using the special sequence.
TROUBLESHOOTING:
Your safe’s serial number is required to obtain replacement combination/keys. The serial number can be found near the door hinge as shown or at the beginning of the original guide.
– If electronics are not functioning, replace batteries first (behind battery cover) as described on page one of this guide.
– If electronics are functioning and you cannot get into safe: – Pull handle up; – Follow instructions for opening your lock.
– You must use both the key (if equipped) and the electronic code to open the safe if the key lock cylinder is pushed in.
DELAY MODE:
Enters a two-minute delay mode after an invalid code has been entered three consecutive times. In this mode, the lock cannot be activated and any key entry will generate an ERROR signal.
FLOOR MOUNT (OPTIONAL): For additional security your safe may be bolted to the floor.
FIRE ENDURANCE / EXPLOSION HAZARD / FIRE IMPACT / DATA PROTECTION TESTING CHART
Why download the Manual?
This user manual provides all the information from MASTER LOCK COMPANY / SENTRYSAFE about the model S4549 safe, as detailed in the table of contents. Reading it completely will address most questions you might have. You can download and save it for offline use, including viewing it on your device or printing it for your convenience if you prefer a paper version.
How to download the Manual?
Download it by clicking the button below
Helped you out?
Glad to hear that. It would be awesome if you could . . .


