LiftMaster 8500 Wall Mount Garage Door Opener Installation Manual (manufactured in 2022 and after)
Download PDF user manual for Chamberlain LiftMaster 8500 Wall Mount Garage Door Opener (manufactured in 2022 and after) (EN|ES) 76 pages 114-5707-000 2022 zip
Description
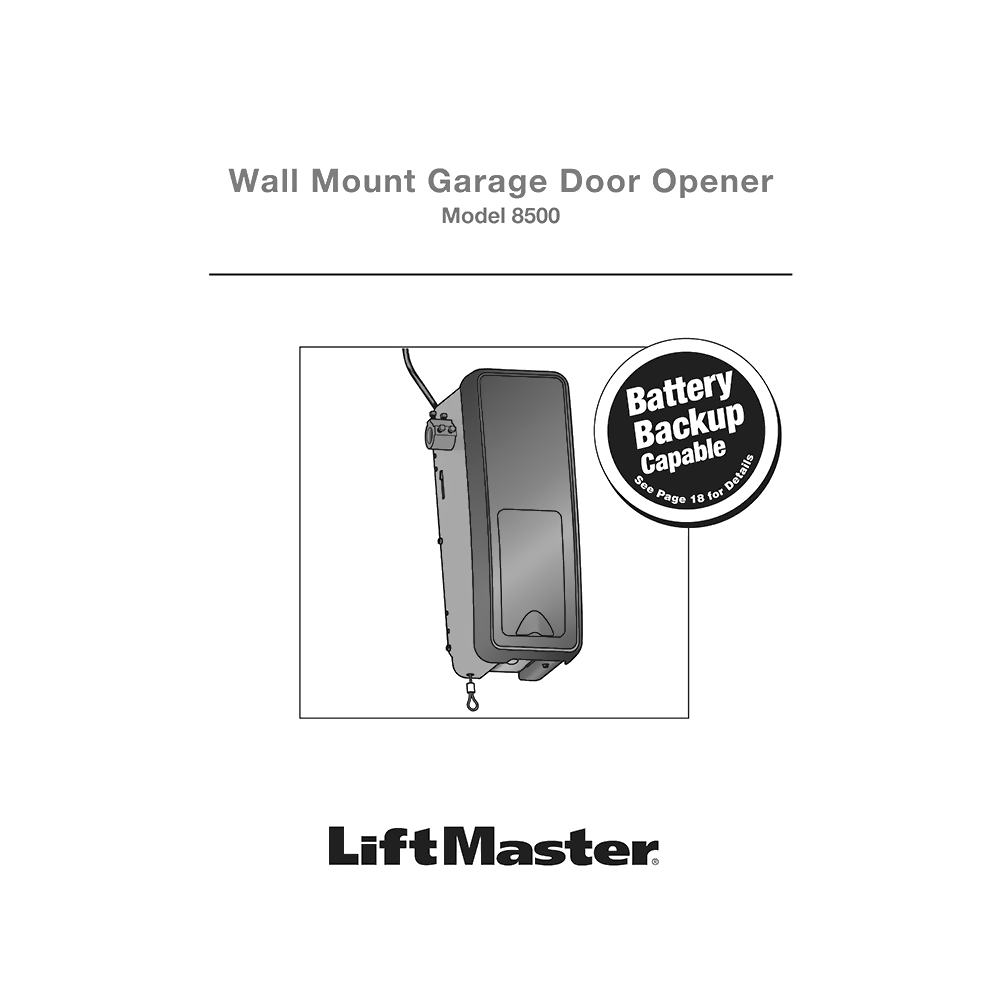
This PDF user manual is for the LiftMaster Wall Mount Garage Door Opener Model 8500 (manufactured in 2022 and after).
About the Item
LiftMaster Wall Mount Garage Door Opener Model 8500 (manufactured in 2022 and after)
Please read this manual and the enclosed safety materials carefully. Fasten the manual near the garage door after installation.
Document(s) available
(PDF) INSTALLATION MANUAL
Available languages
ENGLISH (EN) | ESPAÑOL (ES)
SUMMARY OF CONTENTS
INTRODUCTION
– Safety Symbol and Signal Word Review
– Planning
– Preparing Your Garage Door
– Tools Needed
– Carton Inventory
– Included Accessories
– Hardware
ASSEMBLY
– Attach the Collar to the Garage Door Opener
– Attach Mounting Bracket to Garage Door Opener
INSTALLATION
– Position and Mount the Garage Door Opener
– Attach the Emergency Release Rope and Handle
– Install Power Door Lock
– Attach the Cable Tension Monitor (Required)
– Install the Door Control (myQ Control Panel)
– Install Remote Light
– Install the Protector System®. Installing The Brackets. Mounting The Safety Reversing Sensors. Wire The Safety Reversing Sensors.
– Connect Power. Typical Wiring. Permanent Wiring Connection.
– Install the Battery Backup (optional)
ADJUSTMENT
– Program the Travel Limits. Setting The Up Position. Setting The Down Position.
– Set the Force
– Test the Safety Reversal System
– Test the Protector System®
– Test Cable Tension Monitor
– Test Power Door Lock
– How to Open the Door Manually
OPERATION
– Using Your Garage Door Opener
– Using the Door Control (myQ Control Panel). Push Bar. Lock. Motion Sensor. Timer-To-Close (TTC). Lights.
– Using the Remote Control. 3-Button Remote Controls.
PROGRAMMING
– How to Add a Remote Control, Keyless Entry, or myQ Enabled Accessories using the Door Control (myQ Control Panel)
– LiftMaster® Internet Gateway (Not Provided)
– How to Erase All Codes From the Door Control (myQ Control Panel) Memory
– Reprogramming Light or Additional Light
– Additional Programming for the Keyless Entry (Not Provided)
– HomeLink®. When To Install A Homelink Repeater Kit.
MAINTENANCE
– Care of Your Garage Door Opener. Maintenance Schedule (Once a Month, Once a Year). The Remote Control Battery 3V CR2032.
TROUBLESHOOTING – DIAGNOSTIC CHART:
(The diagnostic LED will flash a number of times, then pause, signifying it has found a potential issue)
1 Flash Or 2 Flashes – Safety reversing sensors wire open (broken or disconnected) or Safety reversing sensors wire shorted or black/white wire reversed
3 Flashes – Door control or wire shorted
4 Flashes – Safety reversing sensors slightly misaligned (dim or flashing LED)
5 Flashes – Motor RPM is not recognized
9 Flashes – Cable tension monitor reversal
10 Flashes – Limits and forces need reprogramming
11 Flashes – Limits and forces need reprogramming
12 Flashes – Attempting to compensate
13 Flashes – Attempting to compensate
TROUBLESHOOTING
The garage door doesn’t operate from the myQ Home Control App.
– When using Model 580LM Alternate Power Supply or when in Battery Backup mode, the LiftMaster® Internet Gateway will not activate the garage door through the myQ Home Control App. If you wish to use the LiftMaster® Internet Gateway with your garage door opener, please contact your local electrician to wire an outlet next to the garage door opener.
The garage door opener doesn’t operate from either the Door Control or the remote control:
– Does the garage door opener have electric power? Plug a lamp into the outlet. If it doesn’t light, check the fuse box or the circuit breaker. (Some outlets are controlled by a wall switch.)
– Have you disabled all door locks? Review installation instruction warnings on page 7.
– Is there a build-up of ice or snow under the door? The door may be frozen to the ground. Remove any restriction.
– The garage door spring may be broken. Have it replaced (see page 3 for reference).
– If the yellow command LED does not turn on, reverse the wires connected to the RED and WHT terminals of the control panel. Replace wire if necessary.
The yellow and red LEDs on the Door Control are blinking quickly:
– The control panel is charging, and may take up to 5 minutes to become operational.
My remote control will not activate the garage door:
– Verify the lock feature is not activated on the door control.
– Reprogram the remote control.
– If the remote control will still not activate the door check the diagnostic codes to ensure the garage door opener is working properly.
The remote control has short range:
– Change the location of the remote control in your car.
– Some installations may have shorter range due to a metal door, foil backed insulation, or metal garage siding.
The door doesn’t open completely:
– Check power door lock.
– Is something obstructing the door? Is it out of balance, or are the springs broken? Remove the obstruction or repair the door.
The door opens but won’t close:
– Check cable tension monitor (see Installation Step 4).
– Go to the Door Control and press and hold the command button. If the door closes, check the safety reversing sensor (See Installation Step 9).
Repeat the safety reverse test after the adjustment is complete.
The door reverses for no apparent reason and garage door opener lights don’t blink:
– Check cable tension monitor (see Installation Step 4).
– Is something obstructing the door? Pull the emergency release handle. Operate the door manually. If it is unbalanced or binding, call a trained door systems technician.
– Clear any ice or snow from the garage floor area where the door closes.
– Review Adjustment Step 2.
Repeat safety reverse test after adjustments.
My door will not close:
The safety reversing sensor must be connected and aligned correctly before the garage door opener will move in the down direction.
– Verify the safety sensors are properly installed, aligned and free of any obstructions.
The garage door opener strains to operate door:
– The door may be out of balance, or the springs may be broken. Close the door and use the emergency release handle to disconnect the door. Open and close the door manually. A properly balanced door will stay in any point of travel while being supported entirely by its springs. If it does not, disconnect the garage door opener and call a trained door systems technician.
The garage door opener motor hums briefly, then won’t work:
– The garage door springs may be broken. See above.
– If the problem occurs on the first operation of the garage door opener, door may be locked. Disable the power door lock.
The garage door opener won’t operate due to power failure:
– Manually open the power door lock.
– Use the emergency release handle to disconnect the door. The door can be opened and closed manually. When power is restored, pull manual release a second time.
– If a Battery Backup is connected, the opener should be able to operate for up to 24 hours without power.
Door loses limits.
– Collar not tightened securely. Tighten collar (see Assembly Steps 1 and 2) and reprogram limits (see Adjustment Step 1).
The garage door opener moves when the door is in operation:
– Some minor movement is normal for this product. If it is excessive the collar will wear prematurely.
– Check to make sure the torsion bar is not moving left/right excessively.
– Check to make sure the torsion bar is not visibly moving up and down as it rotates.
– Check that the opener is mounted at a right angle to the jackshaft. If not, move the position of the mounting bracket.
Power lock makes noise when operating.
– Call LiftMaster® dealer for replacement power lock.
REPAIR PARTS
– Installation Parts
– Garage Door Opener Assembly Parts
CONTACT INFORMATION
ACCESSORIES
WARRANTY
AUTOMATIC GARAGE DOOR OPENER SAFETY & MAINTENANCE GUIDE
REPAIR – SERVICE PARTS LIST
Why download the Manual?
This instruction manual provides all the information from LiftMaster about the 8500 door opener, as detailed in the table of contents. Reading it completely will address most questions you might have. You can download and save it for offline use, including viewing it on your device or printing it for your convenience if you prefer a paper version.
How to download the Manual?
Download it by clicking the button below
Helped you out?
Glad to hear that. It would be awesome if you could . . .


