Grundig YB-550 AM/FM/SW Receiver Operation Manual
Download PDF user manual with instructions for Eton / Grundig Yacht Boy YB550PE AM/FM/Shortwave Radio (EN|FR|DE) 162 pages zip
Description
This PDF operation manual is for the Eton Grundig YB-550 radio.
About the Item
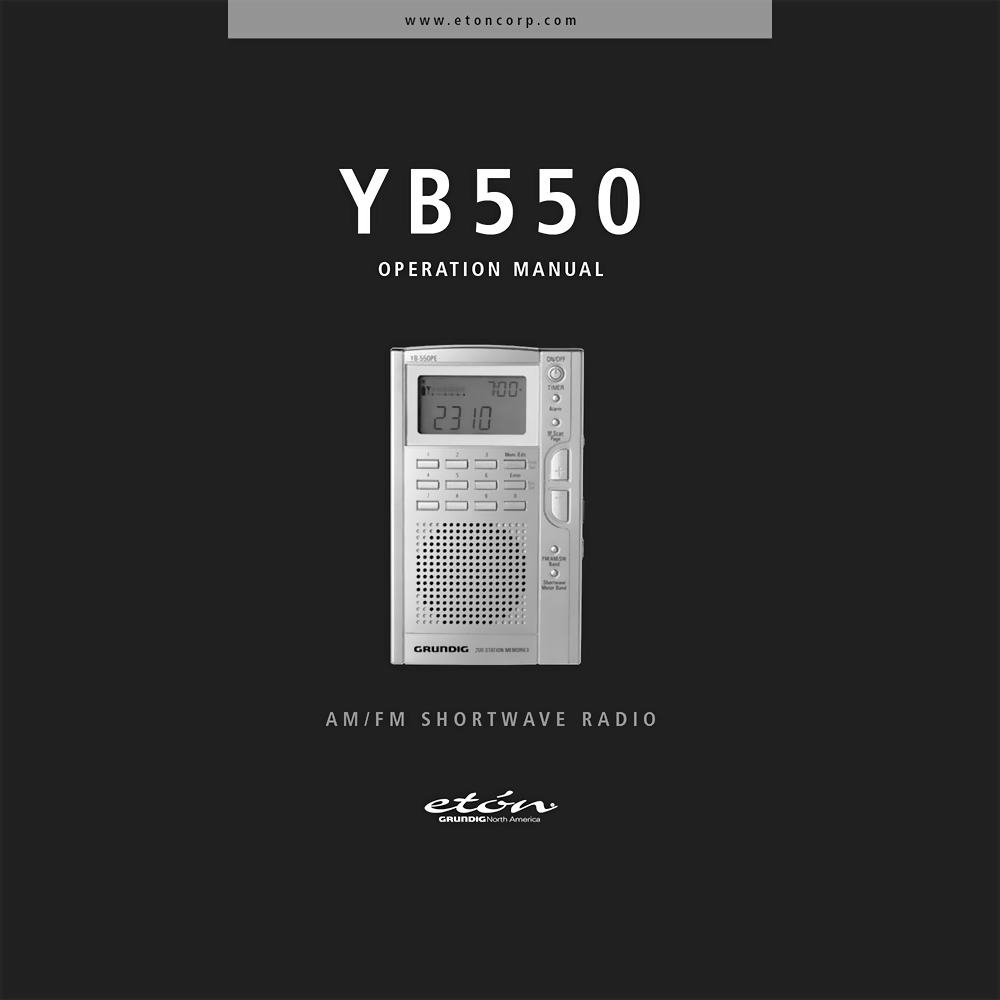
Eton Grundig Yacht Boy YB550PE AM/FM/Shortwave Radio
Major features of the YB 550PE:
– Shortwave – 1711-29.995 KHz.
– FM 87.0 – 108.0MHz; MW 520 – 1710 KHz
– Manual and Auto-Scan Tuning
– Direct Keypad Frequency Entry
– Manual/Auto Scan to scan the preset stations
– Fine-Tuning Control
– 200 Random Programmable Memories
– Memory Page Customizing
– 9/10KHz step size selector for correct worldwide Medium Wave (AM) reception
– FM-Stereo/Signal Strength/Power Level Indicators
– Digital Clock
– Selectable 12/24 hour clock display format.
– Simultaneous display of frequency and clock
– Favorite Station Wake-Up.
– Programmable Alarm
– Programmable Sleep Timer (10 – 90min.) functions
– LCD display light.
– Built in antennas for AM, FM and SW reception
– Earphone socket (earbud style earphones included)
– AC adaptor socket (adaptor not included)
– External antenna socket (external antenna not included)
This owner’s manual is conveniently divided into two sections, BASIC OPERATION and INTRODUCTION TO SHORTWAVE (both sections are important). If you are new to shortwave listening, the INTRODUCTION TO SHORTWAVE section will give you all the information that you need to fully enjoy broadcasts from around the world. This radio has been designed and manufactured to high quality standards, and will provide reliable operation for many years. Please carefully read the Owner’s Manual in order to take advantage of the many interesting features of the YB 550PE.
More experienced digital product users may want to use the quick guide, titled YB 550PE QUICK GUIDE.
Note, however, that the DETAILED OWNER’S MANUAL is the most thorough and comprehensive guide to the YB 550PE’s operation.
Document(s) available
(PDF) OPERATION MANUAL
Available languages
ENGLISH (EN) | FRANÇAIS (FR) | DEUTSCH (DE)
SUMMARY OF CONTENTS
INTRODUCTION
– Diagrams: Front, Rear, Top, Left and Right side views. Buttons, knobs, switches and sockets functions.
– Display icons and symbols description: Radio Off Display, Radio On Display, Memory Display, Shortwave Meter Band Display, System Set Code Display.
QUICK GUIDE
The purpose of the Quick Guide is to enable immediate use of the radio. Please note that it is not a replacement for the Detailed Owner’s Manual, a much more thorough document.
DETAILED OWNER’S MANUAL
– Installing Batteries. How to install the batteries (3 x AA alkaline batteries)
– Using rechargeable batteries: Rechargeable batteries must be charged in their own charger. They will not charge inside the YB 550PE.We suggest nickelmetal-hydride batteries (Ni-MH). Be sure to change the SYSTEM SET CODE accordingly.
– Selecting and using an AC adaptor: Use an adaptor with the following specifications: output of 4.5 volts DC, negative polarity; rated at 100 milliamperes or greater; coaxial plug tip inner diameter of 3.4 millimeter, inner diameter of 1.3 millimeters.
– Signal Strength And Battery Strength Indicator: When the radio is turned off, the upper left corner of the display shows battery strength on the 1-5 scale, with the triangle pointer over the battery symbol on the far left side of the scale. When the radio is turned on, the pointer is over the antenna symbol and the 1-5 scale shows relative signal strength.
– Important Initial Setup.
BASIC RADIO OPERATION
– How to turn the Grundig YB550 On And Off. The YB 550PE can be turned on by the two methods shown below: 1. Battery Saver / Sleep Timer Method; 2. Timer-Defeat Method. To turn it off, press the ON/OFF-TIMER button
– Volume And Tone Controls. How to adjust the volume and tone.
– How to select AM, FM or Shortwave. (Note:When the AM band is selected, the display shows MW, not AM)
– Setting up AM and FM outside of North America
– Four Ways To Tune In Stations. There are four ways to tune in stations: 1. Regular Tuning (Manual Tuning), 2. Autoscan Tuning, 3. Direct Frequency Entry, 4. Fine Tuning.
USING SHORTWAVE
– How to select a Shortwave Meter Band
– How to Autoscan tune while in Shortwave
– Shortwave Band Chart Of Autoscanning Ranges
CLOCK AND ALARM FEATURES
– How to set the clock. The factory default has set the clock to function as a 24 hour format clock.
– How to set the alarm
– Favorite Station Wake-Up
– Using The Snooze Feature
– How to activate and deactivate the alarm
WORKING WITH MEMORY
– How to select Memory Pages
– How to store stations into Memory
– How to access what is stored into Memory. Direct Memory Access.
– Memory Search. How to search through the Memory Presets within a Memory Page.
– Memory Autoscan. How to autoscan through the Memory Presets within a Memory Page.
– How to move a stored frequency
– How to delete a stored frequency
– How to delete all memory contents of a page
– How to customize Memory Pages
SYSTEM SET CODE TABLE
– Certain functions can be programmed and changed using SYSTEM SET CODES. These functions and their descriptions are noted in the SYSTEM SET CODE TABLE.
– How to change System Set Codes
– How to change the Clock Format
– Default Factory System Set Codes
– How to monitor current Set Code Status
– System Set Code Table: Code number / Description / Shown in display
ADDITIONAL INFORMATION
– Using the light. How to turn On and Off display light.
– How to use earphones
– Using The DX/Local Switch: Always use the DX position. Use LOCAL only if you live extremely close to the local radio station that you are listening to and its power causes audio distortion. ‘DX’ stands for ‘distance’. This position gives the radio maximum sensitivity to radio signals.
– Using The Lock Switch. Placing the LOCK switch into the ON position will render all buttons and the FINE TUNING control inoperative.
– How to preventing Battery Acid Leakage
TROUBLESHOOTING:
– RADIO WILL NOT TURN ON
– Assure that the LOCK switch is in the OFF position
– Assure that the radio is powered by either batteries or an AC adaptor
– Assure that the AC adaptor is plugged into the household outlet (mains socket) and into the radio’s DC socket. Take care not to plug it into the ear phone socket or the antenna socket. The AC adaptor may be defective
– Assure that batteries are inserted with correct polarity
– Assure that the batteries are not depleted
– CLOCK SHOWS IN DISPLAY, BUT RADIO WILL NOT TURN ON
– There are two possibilities: dead batteries or the LOCK switch is ON.
– SHUTS OFF ABRUPTLY WHILE PLAYING DURING BATTERY USE
– This is caused by depleted batteries.
– SHUTS OFF ABRUPTLY WHILE BEING MOVED DURING AC ADAPTOR USE
– This is caused by a broken wire or loose connection in the AC adaptor cord.
– OPERATES ERRATICALLY
– Perform a RESET, as described in the section titled RESET PROCEDURE.
– STATIONS ARE RECEIVED TOO WEAK
– Assure that the DX/LOCAL switch is set to the DX position
– Assure that the telescopic antenna is pulled up all the way for FM and Shortwave reception
– If listening to AM stations, swivel the radio. The internal ferrite bar AM antenna is highly directional
– THERE IS NO SOUND FROM THE SPEAKER
– Assure that earphones/headphones are not plugged in and that the volume control is turned up.
– STATIONS ARE RECEIVED TOO WEAK
– Assure that the DX/LOCAL switch is set to the DX position
– Assure that the telescopic antenna is pulled up all the way for FM and Shortwave reception
– If listening to AM stations, swivel the radio. The internal ferrite bar AM antenna is highly directional
– A STATION CAUSES SEVERE AUDIO DISTORTION, BUT SEEMS TO BE VERY STRONG IN SIGNAL STRENGTH
– This is probably a strong, local station, very close to your location. Because of its close proximity to you, its signal is too strong. To reduce signal strengths, place the DX/LOCAL switch into the LOCAL position. Also, try retuning the station with the FINE TUNING control.
– THE BATTERY COMPARTMENT A STICKY LIQUID OR DRIED WHITE POWDER IN IT
– This is the result of battery acid leakage. Battery acid leakage is not covered by warranty. Do not throw away the leaked batteries and immediately contact their manufacturer.
RESET PROCEDURE
When performing a ‘reset’, assure that the batteries in use are good. If the radio does not function and the solutions below do not resolve the problem, perform a ‘reset’. To do this, remove the batteries and press/release the small, round button recessed into the battery compartment floor, using a straightened out paper clip or ballpoint pen. Reinstall the batteries and test the radio. If it still does not resolve the problem, try again, pressing the button two or three times.
SERVICE INFORMATION
SHORTWAVE BASICS
– Night shortwave reception is almost always better than daytime shortwave reception
– During daytime, the most active shortwave bands are 13, 15, 16, 19, and 22 meters, 16 and 19 usually best. At night, the most active bands are 25, 31, 41 and 49 meters, with 31 and 49 usually best
– Around sunset and sunrise, both the day and night bands may be good. It pays to experiment with this
– Getting very close to a window often helps signal strengths
– Holding the radio often helps signal strengths (this may also be true for AM and FM reception)
Why download the Manual?
This operation manual provides all the information from ETON / GRUNDIG about the model YB-550 receiver, as detailed in the table of contents. Reading it completely will address most questions you might have. You can download and save it for offline use, including viewing it on your device or printing it for your convenience if you prefer a paper version.
How to download the Manual?
Download it by clicking the button below
Helped you out?
Glad to hear that. It would be awesome if you could . . .


